Introduction
Want to learn Kubernetes without paying for cloud infrastructure?
Or maybe you’re a developer who wants to test deployments locally before pushing to production?
That’s exactly where a minikube tutorial becomes powerful.
Kubernetes is the industry standard for container orchestration. But running a full Kubernetes cluster in the cloud can be expensive and complex. Minikube solves this problem by allowing you to run a single-node Kubernetes cluster locally on your laptop.
Whether you're a student, DevOps engineer, backend developer, or full stack professional, learning how to set up local Kubernetes with Minikube is a foundational skill.
In this complete guide, you will learn:
- What Minikube is and how it works
- System requirements and installation steps
- How to start and configure a local Kubernetes cluster
- Deploying applications on Minikube
- Enabling dashboards and addons
- Troubleshooting common issues
- Best practices for local development
By the end of this tutorial, you’ll confidently run Kubernetes locally and understand how it mirrors real production environments.
What Is Minikube?
Minikube is an open-source tool that lets you run Kubernetes locally.
Instead of provisioning multiple cloud servers, Minikube creates:
- A single-node Kubernetes cluster
- A virtual machine or container environment
- Local control plane components
It’s ideal for:
- Learning Kubernetes
- Testing deployments
- Developing microservices
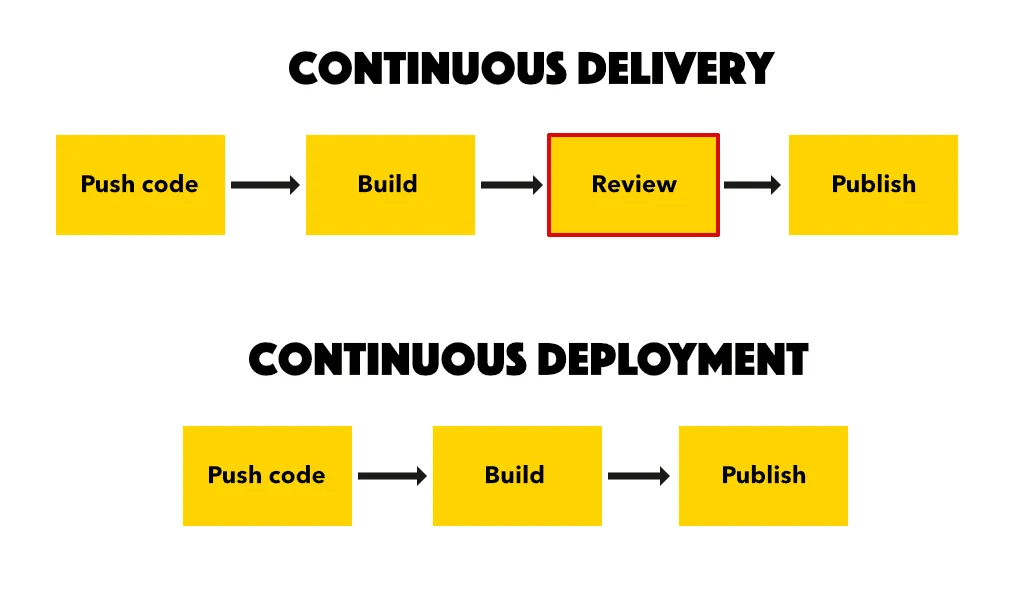
- Experimenting with CI CD pipelines
Minikube brings production-like Kubernetes experience to your laptop.
Why Use Minikube for Local Kubernetes Development?
Running Kubernetes in the cloud is powerful but costly and complex for beginners.
Minikube offers:
- Free local cluster setup
- Fast experimentation
- No cloud dependencies
- Easy reset and reconfiguration
For developers following a minikube tutorial, this provides a safe learning environment.
How Minikube Works
Minikube runs Kubernetes inside:
- A virtual machine
- A container runtime (like Docker)
It installs:
- API server
- Scheduler
- Controller manager
- kubelet
This mimics a real Kubernetes cluster but in a simplified local form.
System Requirements for Minikube
Before starting this minikube tutorial, ensure your system meets these requirements.
Minimum Requirements
- 2 CPU cores
- 2GB RAM (4GB recommended)
- 20GB free disk space
- Virtualization enabled
Supported operating systems:
- Windows
- macOS
- Linux
Installing Required Dependencies
Minikube requires a container or VM driver.
Step 1 Install kubectl
kubectl is the Kubernetes command-line tool.
It allows you to:
- Deploy applications
- Manage clusters
- Inspect resources
Install kubectl based on your OS.
Step 2 Install Docker or Hypervisor
Minikube needs a driver such as:
- Docker
- VirtualBox
- Hyper-V
Docker is recommended for simplicity.
Step 3 Install Minikube
Download the latest Minikube release from the official website and install it.
Verify installation:
minikube version
If version displays, installation succeeded.
Starting Your First Minikube Cluster
Now comes the exciting part.
Start your cluster:
minikube start
Minikube will:
- Download Kubernetes components
- Configure local environment
- Start cluster services
This may take a few minutes initially.
Verifying Kubernetes Cluster
Check cluster status:
kubectl cluster-info
Check nodes:
kubectl get nodes
If you see a node in Ready state, your cluster is active.
This confirms your local Kubernetes setup works.
Deploying Your First Application
Let’s deploy a simple Nginx container.
Step 1 Create Deployment
kubectl create deployment nginx --image=nginx
Step 2 Expose Deployment
kubectl expose deployment nginx --type=NodePort --port=80
Step 3 Access Application
Run:
minikube service nginx
Your browser opens the Nginx welcome page.
Congratulations — you just deployed an application using this minikube tutorial.
Understanding Kubernetes Objects in Minikube
Minikube supports all standard Kubernetes objects.
Key objects include:
- Pods
- Deployments
- Services
- ConfigMaps
- Secrets
Learning these concepts locally prepares you for cloud production clusters.
Using Minikube Dashboard
Minikube includes a graphical dashboard.
Launch it with:
minikube dashboard
The dashboard allows you to:
- Monitor pods
- View logs
- Inspect deployments
- Manage services
It simplifies cluster visualization for beginners.
Enabling Addons in Minikube
Minikube supports several useful addons.
List available addons:
minikube addons list
Enable metrics server:
minikube addons enable metrics-server
Popular addons include:
- Ingress
- Dashboard
- Metrics Server
Addons enhance local cluster functionality.
Scaling Applications in Minikube
Kubernetes supports horizontal scaling.
Scale deployment:
kubectl scale deployment nginx --replicas=3
Check pods:
kubectl get pods
You now have multiple replicas running locally.
This demonstrates real Kubernetes scalability.
Using Ingress in Minikube
Enable Ingress addon:
minikube addons enable ingress
Create Ingress resource for routing traffic.
Ingress allows:
- Host-based routing
- Path-based routing
- Centralized traffic management
This simulates production traffic routing.
Managing Cluster Lifecycle
Stop cluster:
minikube stop
Delete cluster:
minikube delete
Deleting removes:
- All deployments
- Services
- Configurations
This allows clean environment resets.
Troubleshooting Common Minikube Issues
Even with a detailed minikube tutorial, issues may arise.
Issue 1 Virtualization Disabled
Solution: Enable virtualization in BIOS.
Issue 2 Insufficient Memory
Solution: Allocate more memory:
minikube start --memory=4096
Issue 3 Docker Not Running
Solution: Start Docker before launching Minikube.
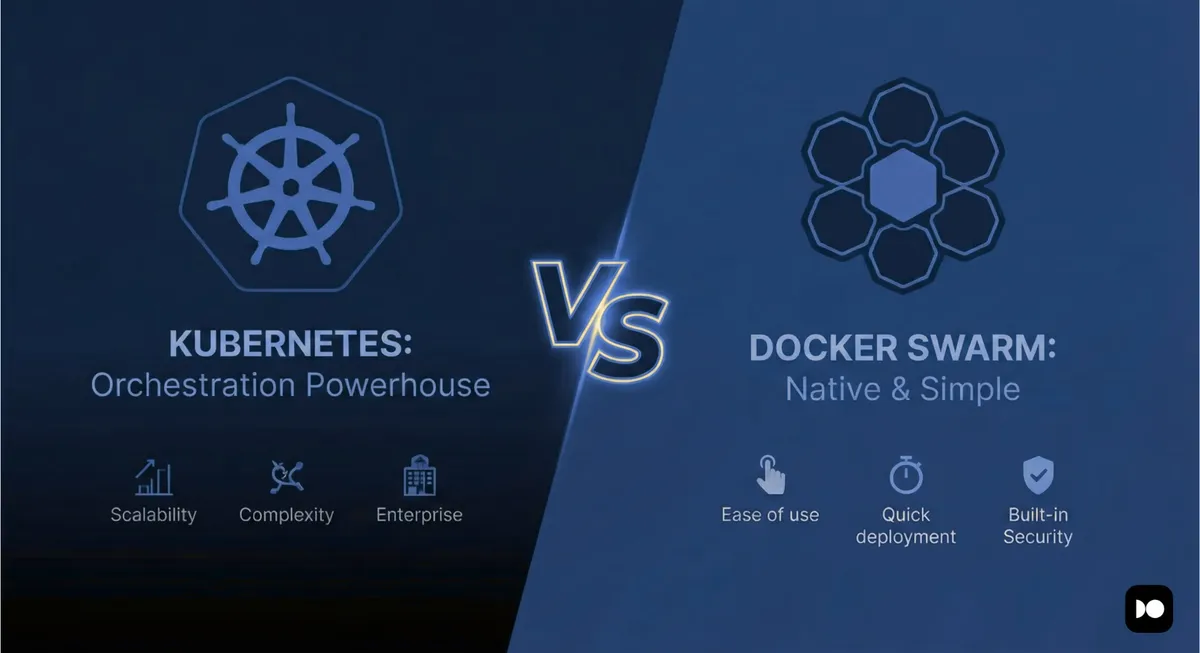
Minikube vs Managed Kubernetes
Understanding differences helps clarify learning path.
Minikube
- Single-node
- Local environment
- Development focused
Managed Kubernetes
- Multi-node
- Cloud-based
- Production ready
Minikube is ideal for practice and experimentation.
Best Practices for Local Kubernetes Development
- Use version control for YAML files
- Keep deployments lightweight
- Practice scaling and rolling updates
- Monitor logs regularly
- Test failure scenarios
Local practice builds production confidence.
Real-World Use Cases
Developers use Minikube for:
- Microservices testing
- CI pipeline simulation
- API development
- Container experimentation
It’s a safe sandbox environment.
Future of Local Kubernetes Development
Emerging trends include:
- Kind (Kubernetes in Docker)
- k3s lightweight clusters
- Dev containers integration
- Edge computing simulation
Minikube remains a beginner-friendly starting point.
Short Summary
This minikube tutorial explained how to install, configure, and deploy applications on a local Kubernetes cluster. By using Minikube, developers can practice Kubernetes safely without cloud costs.
Strong Conclusion
Learning Kubernetes can feel overwhelming.
But setting up local Kubernetes with Minikube makes the journey approachable and practical.
With just a few commands, you can:
- Start a cluster
- Deploy applications
- Scale services
- Experiment with real Kubernetes concepts
Minikube bridges the gap between theory and real-world DevOps experience.
Master it locally — and you’ll be ready for production Kubernetes environments confidently.
Frequently Asked Questions
Minikube is used to run Kubernetes locally for development and learning.