Introduction
Building a full stack project is one of the fastest ways to learn web development end-to-end. A full stack project connects a frontend (what users see), a backend (application logic and APIs), and a database (data storage). This guide — focused on the full stack project guide — gives you a clear, practical path to go from idea to deployed application.
Hook: imagine shipping a portfolio-worthy app in a few weeks that demonstrates UI design, REST APIs, data modeling, authentication, deployment, and monitoring — employers notice that.
Context: this guide assumes basic familiarity with JavaScript or Python but is written for students, beginners, and professionals who want a step-by-step, actionable blueprint.
What you’ll learn: planning, tech stack selection, frontend + backend + database development, authentication, testing, CI/CD, deployment, security, optimization, documentation, and real-world tips.
What Is a Full Stack Project?
A full stack project combines three layers:
- Frontend — user interface (HTML/CSS/JS or framework-based)
- Backend — server, API endpoints, business logic
- Database — persistent storage (SQL/NoSQL)
Examples: e-commerce site, social network, task manager, blogging platform, learning platform.
Why Build a Full Stack Project?
1. Real-world skills
You learn integration, debugging, and deployment in addition to coding.
2. Hireability
Interviewers look for projects that show problem solving across the stack.
3. Confidence
Shipping a working app proves you can finish projects.
4. Portfolio value
A deployed app is far more persuasive than screenshots.
Step 1 — Plan Your Project (Design & Scope)
Define the problem
Write a one-line mission statement for your app. Example: “A simple task manager for students to track assignments.”
Target audience
Who will use the app? Students, small teams, hobbyists?
MVP features (Minimum Viable Product)
List only essentials for first release:
- Signup / Login
- Create / Read / Update / Delete tasks
- Search / Filter tasks
- User profile
Bonus features (phase 2+)
- Notifications
- File attachments
- Sharing & collaboration
- Analytics / charts
Sketch user flows
Use paper, Figma, or a whiteboard. Map how users register, create tasks, edit, and logout.
Step 2 — Choose the Tech Stack
Pick tools that let you move quickly and learn transferable skills.
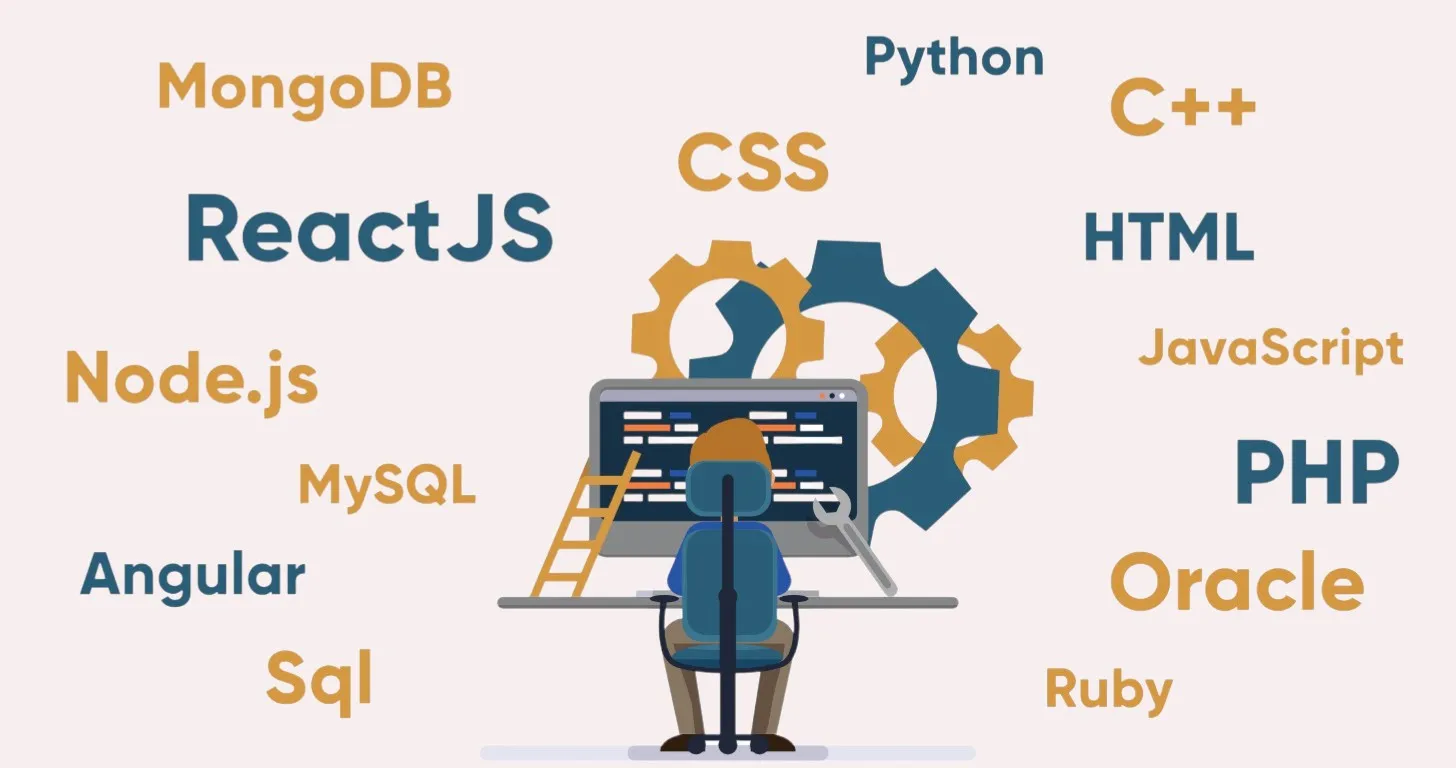
Popular beginner-friendly stacks
- MERN: MongoDB, Express, React, Node.js (JavaScript end-to-end)
- JAMstack: Next.js (React) + serverless functions + headless CMS
- Django + React: Python backend + React frontend
- Rails + Hotwire: Ruby on Rails full-stack approach
How to decide
- If you love JavaScript, MERN is efficient.
- If you prefer Python, Django gives rapid backend capabilities.
- If you need server-side rendering and SEO, Next.js helps.
Step 3 — Project Structure & Repo Setup
Folder layout (example)
project-root/
 ├─ client/        # frontend (React/Vue)
 ├─ server/        # backend (Express/Django)
 ├─ .gitignore
 ├─ README.md
 └─ docker-compose.yml (optional)
Initialize version control
git init
git add .
git commit -m "initial commit"
Branching strategy
Use main for production and feature branches for work. Merge via pull requests.
Step 4 — Build the Frontend (User Interface)
1. Scaffold
Use create-react-app, vite, next, or vue-cli.
2. Layout & Components
Break UI into reusable components: Header, Footer, TaskCard, TaskList, Form.
3. Styling
Options:
- CSS Modules
- Tailwind CSS
- Styled-components
Keep styles modular and responsive.
4. State Management
For small apps, React useState and useContext are fine. For complex apps consider Redux, Zustand, or Pinia.
5. API Integration
Fetch data from backend:
const res = await fetch("/api/tasks");
const tasks = await res.json();
6. Form handling & validation
Use libraries like react-hook-form and yup for robust validation.
7. Accessibility & UX
- Use semantic HTML
- Add
aria-*attributes where needed - Ensure keyboard navigation works
Step 5 — Build the Backend (APIs & Logic)
1. Scaffold backend
Example with Express:
npm init -y
npm install express mongoose dotenv
2. Folder layout
server/
 ├─ controllers/
 ├─ models/
 ├─ routes/
 ├─ middlewares/
 └─ server.js
3. Create RESTful routes
GET /api/tasks
POST /api/tasks
GET /api/tasks/:id
PUT /api/tasks/:id
DELETE /api/tasks/:id
4. Validation & Error Handling
Use middleware to validate requests and handle errors uniformly.
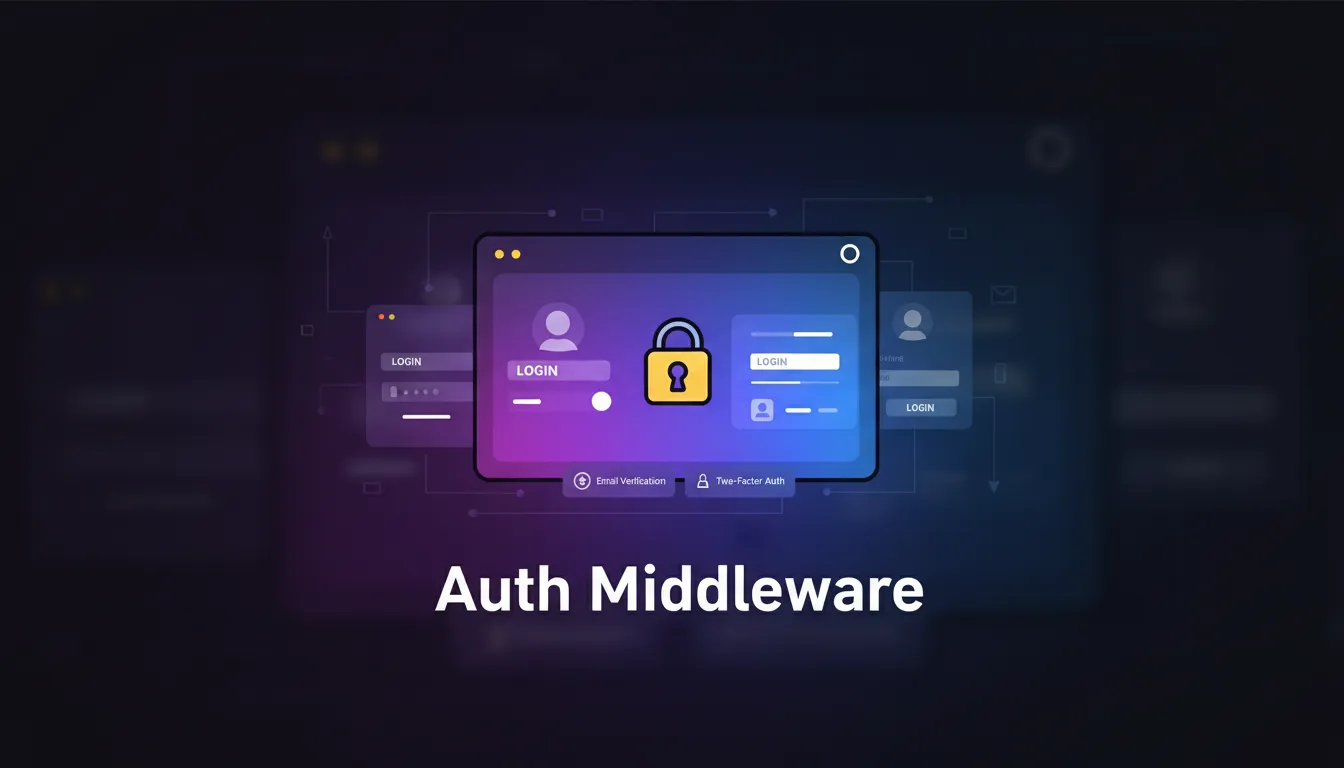
5. Authentication
Implement JWT or session-based auth:
- Signup -> hash password with bcrypt
- Login -> issue JWT token
- Protect routes with auth middleware
6. Rate limiting & security headers
Use helmet, express-rate-limit, and input sanitization.
Step 6 — Database Design & Integration
1. Choose DB
- MongoDB for flexible schemas
- PostgreSQL for relational needs
2. Design schema
Task model (example):
{
  title: String,
  description: String,
  completed: Boolean,
  dueDate: Date,
  userId: ObjectId
}
3. Indexing & performance
Add indexes for common queries (e.g., userId, dueDate).
4. Migrations (SQL)
If using SQL, use migration tools (Knex, Sequelize, Alembic).
Step 7 — Connect Frontend, Backend & Database
API flow
- Frontend sends request → Backend route → Controller → Service → DB → Controller → Response → Frontend renders.
CORS
Enable CORS securely, allowing only trusted origins in production.
Environment variables
Store secrets and config in .env and never commit them.
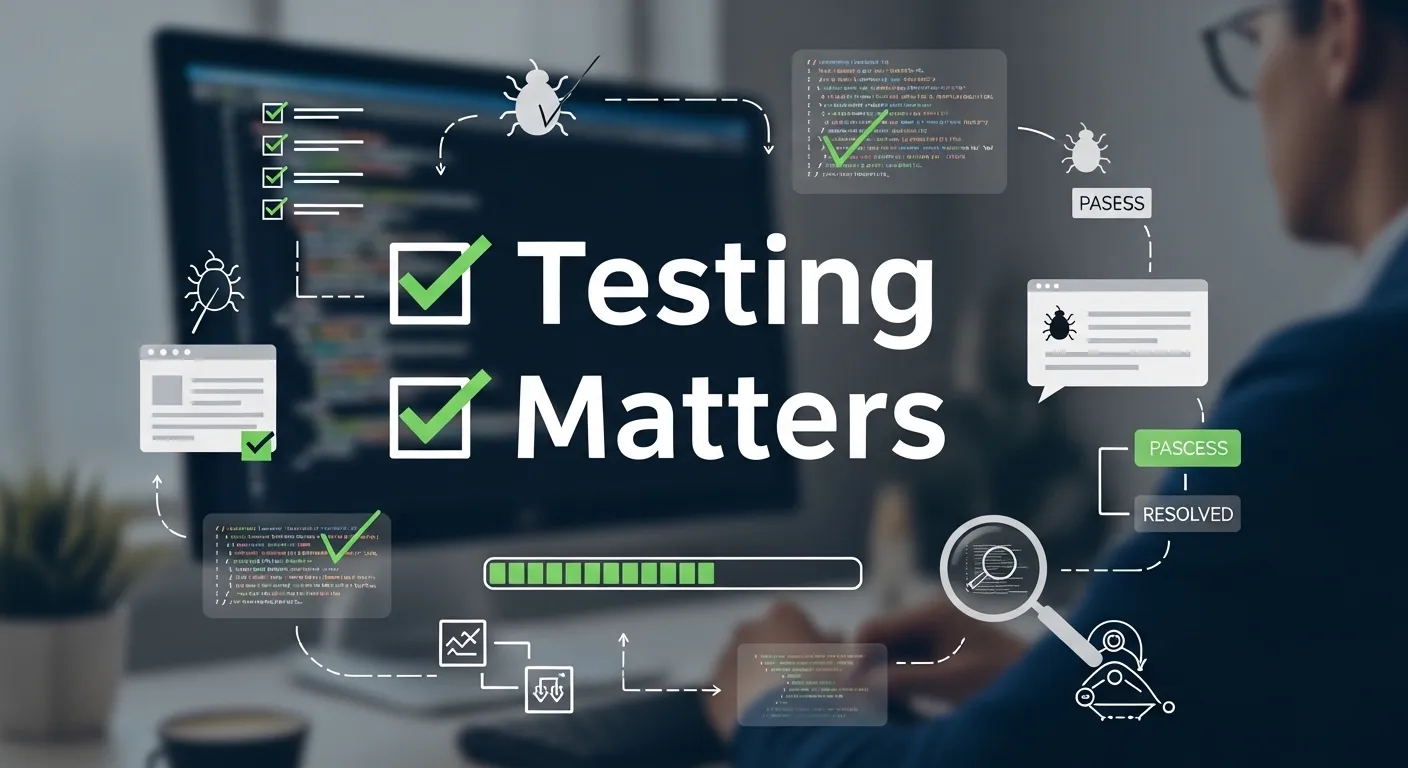
Step 8 — Testing & Quality Assurance
Unit Tests
- Backend: Jest, Mocha
- Frontend: Jest, React Testing Library
Integration Tests
- Test API endpoints with SuperTest or similar.
End-to-end Tests
- Cypress or Playwright to simulate user flows.
Linting & Formatting
- ESLint, Prettier to enforce code style.
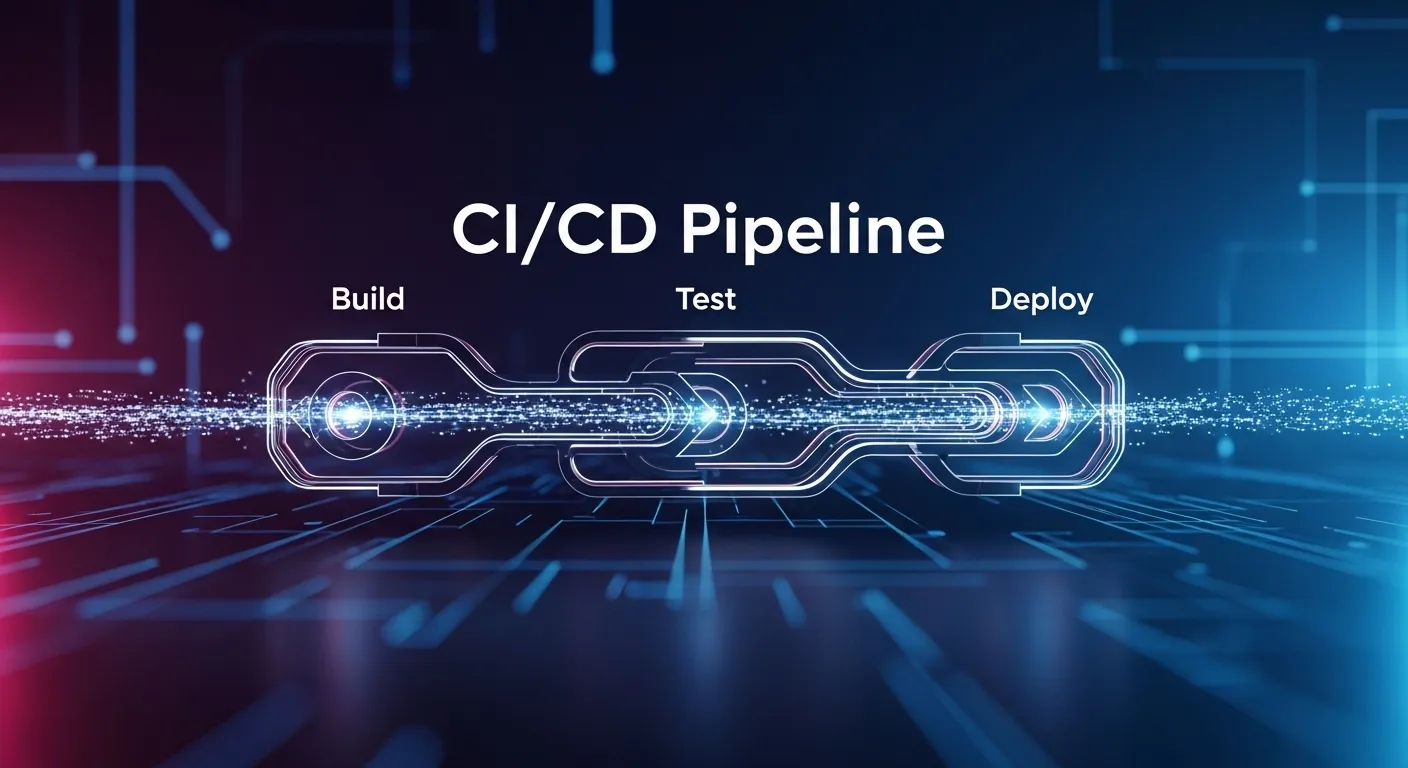
Step 9 — CI/CD & Automation
Automate tests and deploy using CI tools:
- GitHub Actions, GitLab CI, or CircleCI Example workflow:
- Run unit & integration tests
- Build frontend bundle
- Deploy to staging
- On merge to main, run production deploy
Step 10 — Deployment (Frontend, Backend, DB)
Frontend
- Vercel, Netlify, or S3 + CloudFront
Backend
- Render, Railway, Heroku, DigitalOcean App Platform, or AWS Elastic Beanstalk
Database
- Managed options: MongoDB Atlas, PlanetScale, AWS RDS
Environment & Secrets
Use platform secrets manager or environment variables.
Step 11 — Monitoring, Logging & Error Tracking
- Use Winston or Pino for server logs.
- Use Sentry for error tracking.
- Monitor performance: New Relic, Datadog, or Cloud provider tools.
Step 12 — Security & Best Practices
- Use HTTPS/TLS.
- Sanitize inputs and escape outputs.
- Implement proper CORS policies.
- Use Content Security Policy (CSP).
- Store passwords hashed (bcrypt).
- Use least privilege for DB users.
- Keep dependencies up-to-date.
Step 13 — Optimization & Scaling
- Cache frequently-read data (Redis, CDN).
- Use lazy loading and code splitting on frontend.
- Add pagination and limit query sizes.
- Scale horizontally (stateless servers + load balancer).
- Use connection pooling for DB.
Step 14 — Documentation & README
A good README includes:
- Project overview
- Features
- Tech stack
- Setup instructions (local & production)
- API documentation (example requests)
- Contribution guide
Use OpenAPI / Swagger to document APIs.
Real-World Project Ideas (Beginner → Advanced)
Beginner
- Task manager
- Personal blog with markdown editor
Intermediate
- E-commerce site (cart, payments)
- Social feed with likes & comments
Advanced
- Multi-tenant SaaS
- Real-time collaboration tool (WebSockets)
Actionable Tips to Finish Faster
- Start with a working MVP.
- Prioritize core features over polish.
- Use templates & UI kits.
- Reuse open-source components.
- Deploy early and iterate based on feedback.
Short Summary
Building a full stack project requires planning, choosing the right tools, implementing frontend & backend, connecting to a database, testing, deploying, and maintaining. Follow the steps in this guide to move from idea to production-ready application.
Conclusion
A full stack project is the best learning vehicle for modern developers. It teaches you architecture, APIs, authentication, performance tuning, and deployment. Start with an MVP, stay pragmatic, learn from production issues, and iterate. Your first full stack app will open doors to better jobs and real confidence.
FAQs
1. What is a full stack project?
A project that combines frontend, backend, and database to form a complete application.
2. Which stack is best for beginners?
MERN is popular and beginner-friendly due to JavaScript across the stack.
3. How long to build a simple full stack app?
A basic MVP can be built in 3–7 days with focused effort.
4. Do I need to know DevOps?
Basic deployment skills are helpful; deep DevOps knowledge is optional initially.
5. Should I use templates or build from scratch?
Start with templates for speed, then replace parts to learn.
Meta Title
How to Build a Full Stack Project | Complete Full Stack Project Guide
Meta Description
Step-by-step guide to building a full stack project: planning, frontend, backend, database, testing, deployment, security, and scaling. Perfect for beginners and intermediates.
References
https://en.wikipedia.org/wiki/Full_stack
https://en.wikipedia.org/wiki/Web_development
https://en.wikipedia.org/wiki/Frontend_and_backend
https://en.wikipedia.org/wiki/Software_engineering